Save by buying more

Corsan rectangular countertop washbasin 450x410x145 mm with click-clack chrome plug

Corsan rectangular countertop washbasin 450x410x145 mm with gold click-clack plug

Corsan rectangular countertop washbasin 450x410x145 mm with black click-clack plug

Corsan rectangular countertop washbasin 450x410x145 mm with white click-clack plug
The surface is protected by the Anti Wipe technology, which protects against discoloration, while making it easier to keep the surface impeccably clean without streaks and stains.
We guarantee unrivaled product quality, which is confirmed by an exceptionally long warranty period.
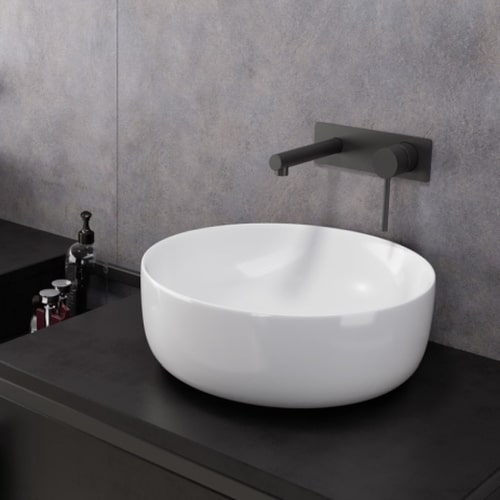
Ceramic countertop washbasin
The ceramics from which the washbasin is made are of the highest quality, non-porous and free of microscopic gaps that could collect bacteria or molds.
Ceramics is a natural mineral raw material, which means it contains no chemicals or toxins. its surface is exceptionally resistant to tarnishing. It is resistant to stains and scratches, maintaining its color and excellent condition for many years. It is also exceptionally resistant to chemicals.
Installation of a countertop washbasin
You don't have to be an expert, the washbasin is easy to install on various types of countertops or on washbasin cabinets, in which can be used to drill a hole for the drain.
1. Take your measurements. We usually place the upper edge of the washbasin at a height of approx. 85-90 cm from the floor, so subtract the height of the washbasin (in this case: 90 cm - 14.5 cm = 75.5 cm) and place the cabinet top at this height.
2. Match the battery. Countertop mounted - only high tap (the washbasin is 14.5 cm, so we designate taps with a height of no less than 22 cm to provide space for hands). The faucet can be mounted on the back of the washbasin or on its side. Flush-mounted - we suggest placing it at a height of 105-110 cm from the floor.
3. You need to cut a hole in the countertop, necessary for proper connection of the installation. Place the washbasin on the countertop and mark the size of the hole to be cut. Remember to place the washbasin at such a distance from the wall to ensure that you can wash it and the countertop. Under the countertop, check whether the distance from the wall and the hole in the wall will ensure trouble-free water drainage.
4. Apply silicone to the lower edges of the washbasin, then place the whole thing on a cabinet or countertop and leave it to dry completely after about 24 hours.
5. Install a siphon and concealed or floor-standing washbasin taps. Install the plug (it is best to combine it with a color-matched click-clack washbasin plug), then go to the siphon and finally to the drain pipe.


